Introduction to TurboCAD
This introductory training program is designed for users of TurboCAD Deluxe, Professional and Platinum and is ideal for anyone who wishes to learn the key concepts of 2D drawing and 3D design from the ground up. No experience necessary and it is updated according to TurboCAD 2023!
Data Sheet
More Info
Key Features
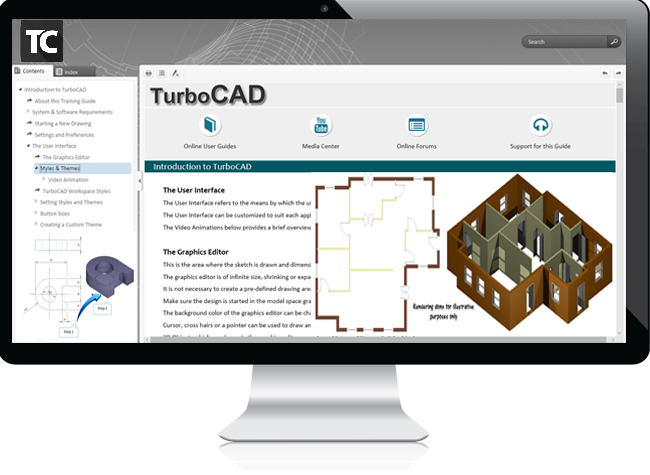
- This training program is supplied in a convenient, browser-based format which allows the user to follow each session sequentially or to use as a quick reference.
- Each video tutorial has a printable and downloadable drawing so you can use the samples to create your own designs.
- The video tutorials instruct each drawing from start-to-finish so each drawing is fully completed, with dimensions, text and multiple drawing layouts.

Work Sessions
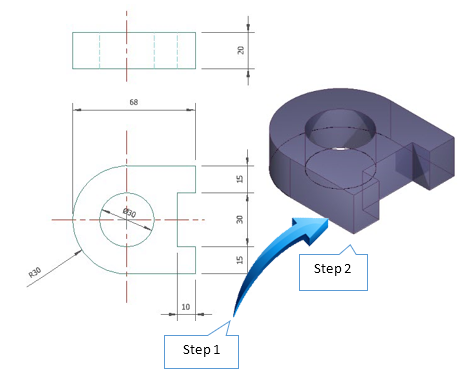
In Tutorial 1 you will learn how to draw a small part using various Draw, Modify and Dimensioning tools. During this tutorial, you will also learn about :
- Starting a new drawing from a template.
- The Tools and Design Director palettes.
- Drawing Single lines to specific lengths and angle; Using the SHIFT key to constrain angles.
- Activating Intersection Snap Mode.
- Drawing Concentric Circles.
- Using the keyboard TAB key to access the data fields.
- Using the Selection Info Palette.
- Using the Parallel tool to create vertical and horizontal offsets.
- Using the Object Trim tools; using a crossing selection.
- Using the Meet 2 Lines, Shrink/Extend Line and Line Length modification tools.
- Changing layer properties.
- Inserting dimensions.
In Tutorial 2 you will learn how to convert the sketch produced in the previous session to create a 3D model. During this tutorial, you will also learn about :
- Dragging a sketch to the Blocks palette.
- Naming a Block.
- Displaying the Workplane.
- Viewing the model from an Isometric View.
- Returning a Block to the editor.
- Exploding the Block.
- Using the Design Director to prepare the Sketch for 3D design.
- Joining line segments using Join Polyline.
- Extruding a profile.
- Subtracting 3D objects.
- Render modes.
- Creating and inserting viewports.
- Modifying the view in the Paper Space layout.

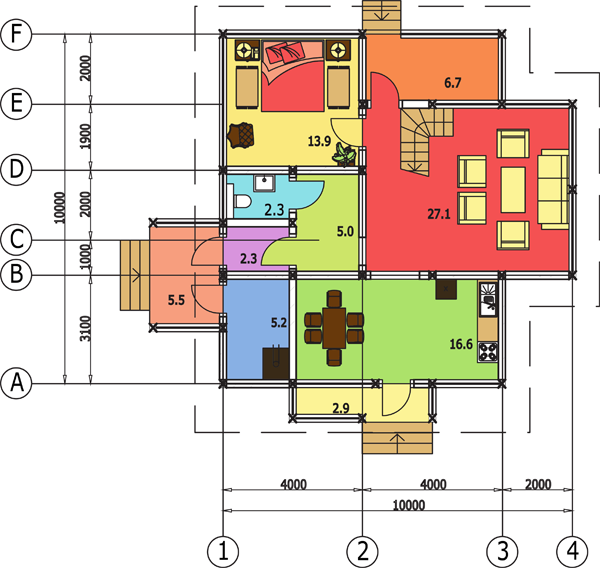
In Tutorial 3 you will learn how to Draw an architectural floor plan using interior and exterior walls, doors and windows. During this tutorial, you will also learn about :
- Starting a new drawing using an Architectural template.
- Pre-existing layers in the Design Director.
- Grid settings.
- Setting the properties of
- Drawing an outer & inner wall using
- Setting the Wall reference.
- Moving and deleting walls.
- Inserting Doors & Windows.
- Manipulating Doors & Windows.
- Changing the Style Properties of Doors & Windows.
- Viewing objects in an Isometric View.
How it's presented
- This training program is presented in a browser-based html electronic version which is downloaded and installed onto your PC or Laptop.
- No internet connection is required to view this training guide; it is installed locally onto your device. An internet connection is only required to stream the video content.
- All movies are provided in an MP4 format which is compatible with most browsers.
- Superior indexing and search facility allows you to quickly find your favourite topic.
- Sample drawings are provided in a range of TurboCAD formats so you can check your designs against the recommended standard.
- A printable pdf is provided of each Session drawing.

What's Included
- Introduction to the TurboCAD interface and all the tools needed to put you on the fast-track for 2D sketch to 3D design creation.
- 3 multi-media, audio visual Tutorials covering technical and architectural designs – all created from start-to-finish.
- Rapid Reference Index for quick location of specific topics.
- Printable pdf of each session drawing.
- Sample drawing provided for each tutorial.

